First and last frame AI video generator
Upload a start frame and an end frame. The AI fills in the motion between them.
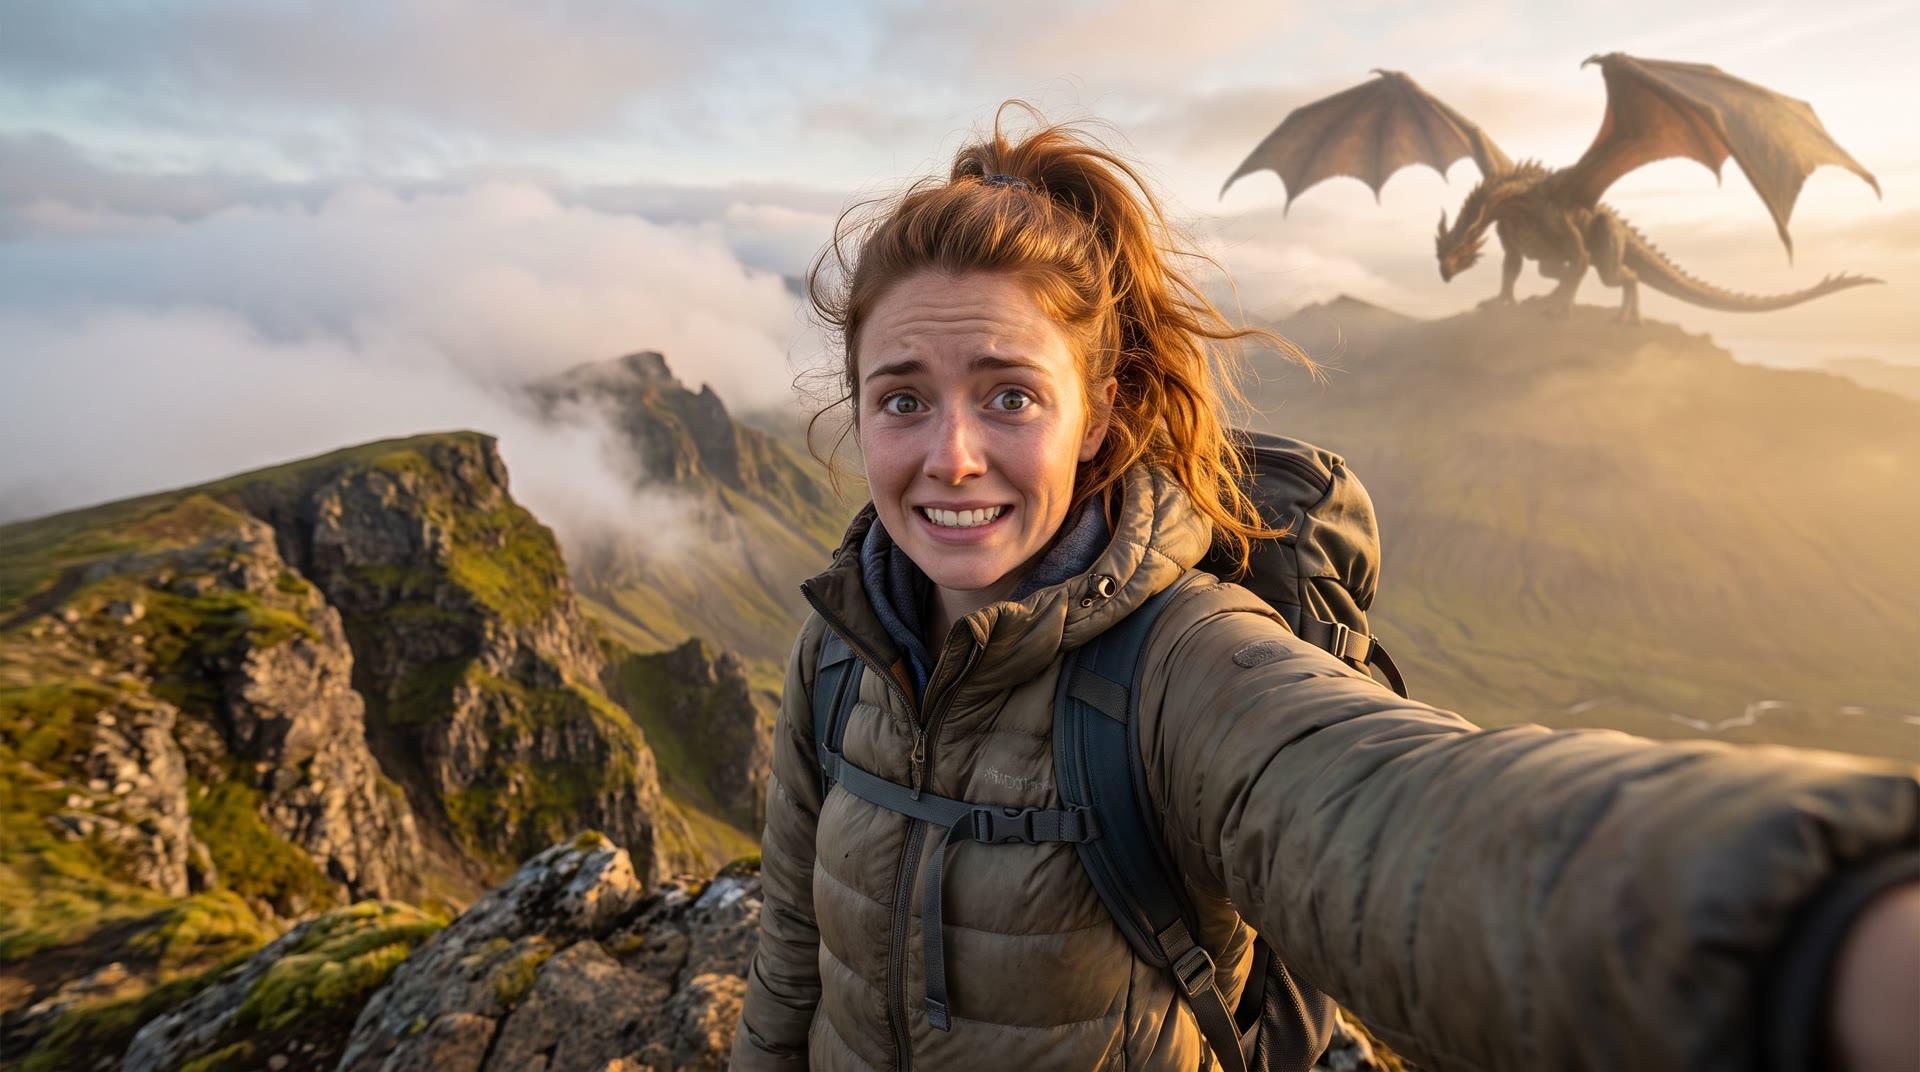
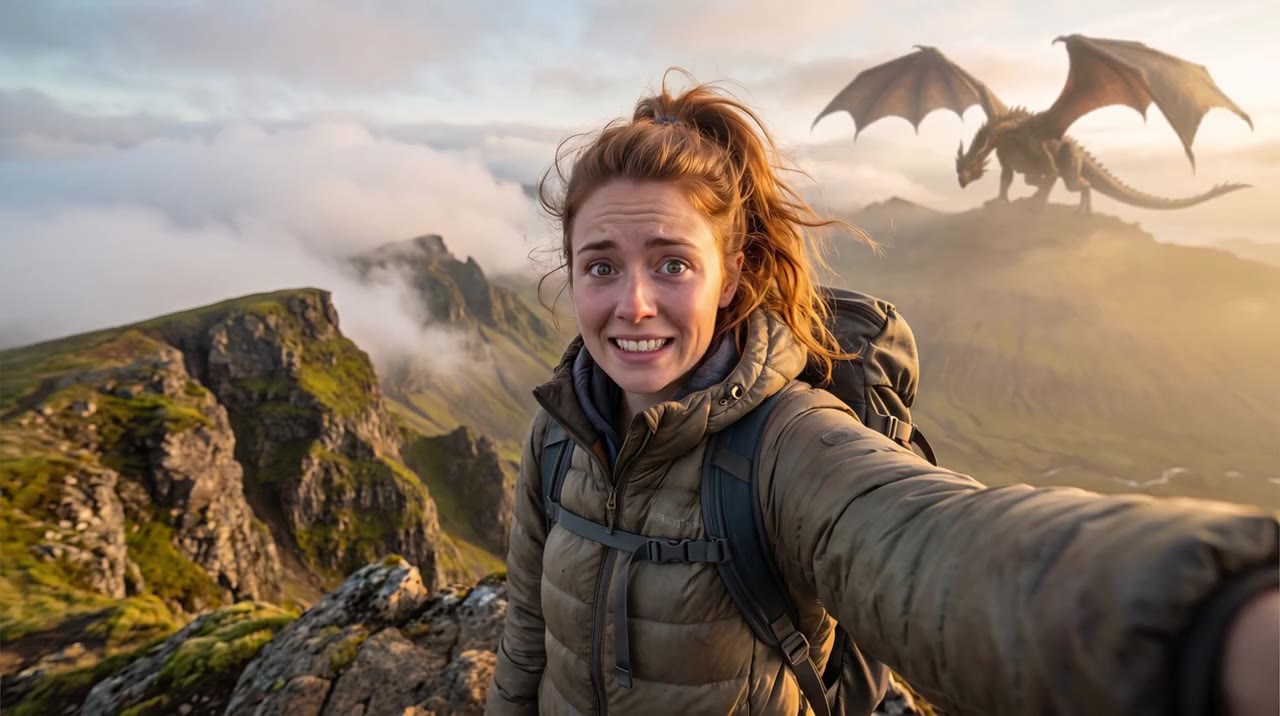
AI image to video guide
The short answer
To make a video from a first and last frame, upload your start image, switch on Add end frame and upload the image the video should end on, then describe the motion between them. MiniMax H3 Max Turbo is the cheapest model with end frames, from 40 credits (about $1.00) a clip. Veo 3.1, Kling 4.0, Seedance 2.5 and Wan 2.7 I2V also support it, for higher quality or longer clips.
Updated
First and last frame: quick facts
- Models with end frame
- MiniMax H3 Max, H3 Max Turbo, H3, Veo 3.1, Veo 3.1 Fast, Wan 2.7 I2V, Seedance 2.5, Kling 4.0
- Cheapest
- MiniMax H3 Max Turbo, from 40 credits (about $1.00) per clip
- Longest
- 30 seconds with Seedance 2.5 or Kling 4.0
- Silent and lower cost
- Wan 2.7 I2V, from 135 credits (about $3.37)
- Best frames
- Same scene, same aspect ratio, similar light
- Not combined with
- Your own voice clip (Seedance 2.5 uses one or the other)
Models that support first and last frame
Starting prices are the cheapest setting with audio off. Dollar figures use the $4.99 pack (200 credits); larger packs cost less per credit. The generator shows the exact total before you submit.
| Model | Best for | From | Lengths | Sound |
|---|---|---|---|---|
| MiniMax H3 Max Turbo | Cheap tests of a transition, with sound | 40 credits (about $1.00) | 5s, 10s, 15s | Included |
| Veo 3.1 Fast | Cinematic transitions with sound, up to 8 seconds | 100 credits (about $2.50) | 4s, 6s, 8s | Included |
| Kling 4.0 | Long, realistic transitions up to 30 seconds | 265 credits (about $6.61) | 3–30s | Included |
| Seedance 2.5 | Long transitions with optional sound, up to 30 seconds | 175 credits (about $4.37) | 4–30s | Optional |
| Wan 2.7 I2V | Silent transitions at 720p or 1080p | 135 credits (about $3.37) | 4–15s | No |
How to do it, step by step
Prepare two frames
Use two images of the same scene or subject, in the same aspect ratio. A product before and after, a character in two poses or a place from day to night all work.
Choose a model and add both frames
Pick a model with end frame support, upload the start image, switch on Add end frame and upload the final image.
Describe the motion between them
Say how the subject and the camera get from the first image to the last, for example “the camera orbits left as the lights turn on”.
Generate and check the middle
The ends match your frames; the middle is where problems show. If it jumps, make the frames more similar or the clip longer.
Prompts you can copy
Swap in your own subject and keep the structure: what moves, how the camera moves, and what stays the same.
Day to night
The camera holds steady as the sun sets, the sky turns deep blue and the street lights and windows switch on one by one. Smooth, continuous transition.
Use the same shot at two times of day as the two frames.
Product reveal
The box lid lifts slowly and the camera pushes in until the watch fills the frame, ending on the close-up. Soft studio light, clean background.
Start with the closed box and end with the product close-up.
Character pose change
The character stands up from the chair, takes two steps forward and ends in a confident pose facing the camera. Natural motion, fixed camera.
Keep the clothes and background the same in both frames.
Seasons change
The tree in the park changes from summer green to autumn orange as leaves fall gently. Slow camera push-in, continuous time-lapse feel.
Works best when both frames are taken from the same spot.
Tips for better results
Keep frames close
The more the two images differ, the more the model has to invent. Same scene, same framing and similar light give the smoothest result.
Same aspect ratio
Crop both frames to the same ratio as your video, such as 16:9 or 9:16, so neither end gets stretched or cropped.
Give the move enough time
Big changes need longer clips. If a 5-second clip rushes, try 10 seconds on a model that supports it.
Use it to loop
Upload the same image as first and last frame to make a clip that ends where it starts, ready to loop on social media.
FAQ
What is a first and last frame AI video generator?
It is an image-to-video tool that takes two images, a start frame and an end frame, and generates the motion between them, so you control both how the video starts and how it ends.
Which models support start and end frames here?
MiniMax H3 Max, H3 Max Turbo and H3, Veo 3.1 and Veo 3.1 Fast, Wan 2.7 I2V, Seedance 2.5 and Kling 4.0.
Is there a free first and last frame AI video generator?
Not here: clips use credits. MiniMax H3 Max Turbo is the cheapest model with end frames, from 40 credits (about $1.00) per clip, and one-time packs start at $4.99.
Can I make a looping video?
Yes. Use the same image as the first and the last frame, and describe motion that returns to the start, such as waves, steam or a slow camera orbit.
Can I use end frames with my own voice clip?
Not at the same time. On Seedance 2.5, adding a voice clip switches off the end frame, so choose one or the other for each clip.
Related guides
MiniMax H3 Max
Native audio with first and last frame.
Veo AI video generator
Veo 3.1 with first and last frame control.
Wan AI video generator
Wan 2.7 I2V start and end frames.
Want every model in one place? Use the AI image to video generator.